TE
@Terry Cockerell
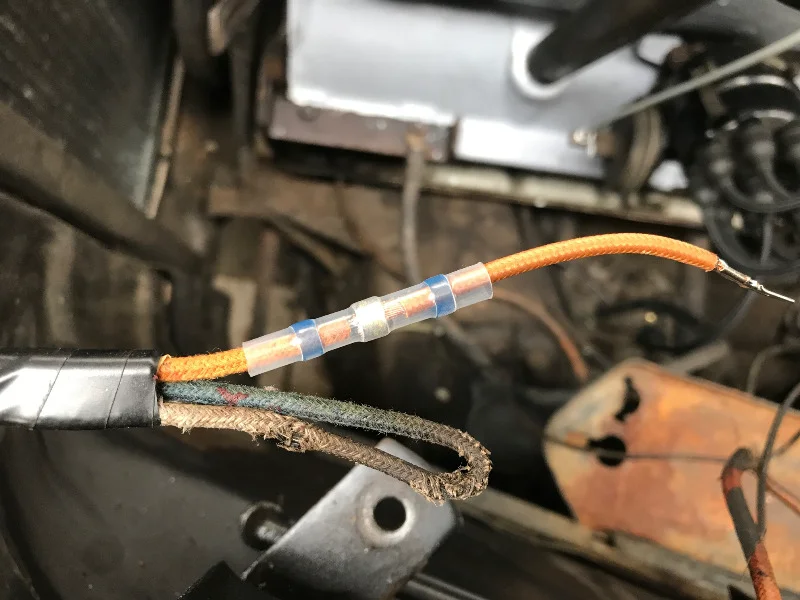
I canot help with the decission wether to cut or to do the full job (last would be better but might be too hard work and perhaps will cause damage on the gear switch?) But if you decide for cutting, don┬┤t cut at the same level, because the loom will be thicker after soldering. Perhaps you do have these wonderfull soldering fittings that will close the repair with a shrinking isolation automatically?
(pic shows my 49 Packard)
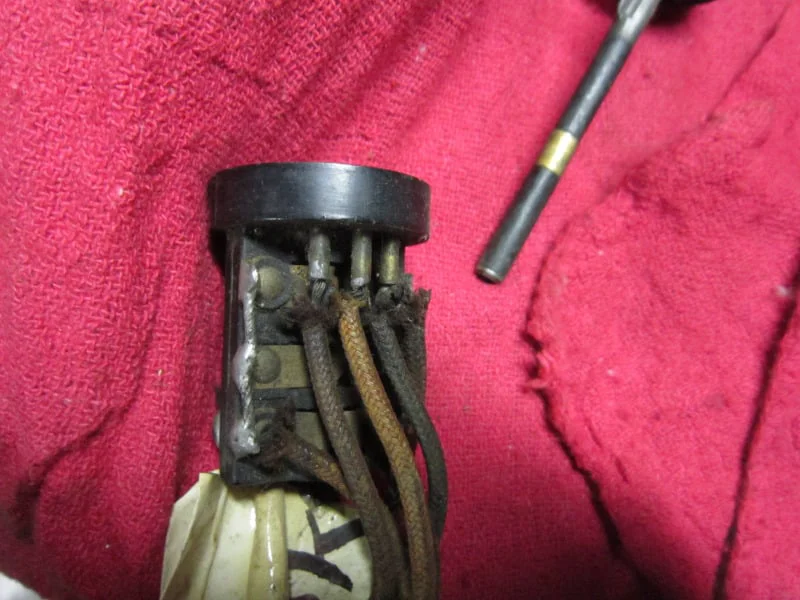
I have just taken some pictures and hope to be able to attach them to this email.Some of the cable ends were pushed into the plastic housing when originally put together. These are the areas I do not wish to disturb. I guess the safest route is to splice the cables lower down and staggered as suggested by Michael to keep the overall diameter down. I will look into getting outer cable shrink covers.Thanks guys for your help and suggestions.
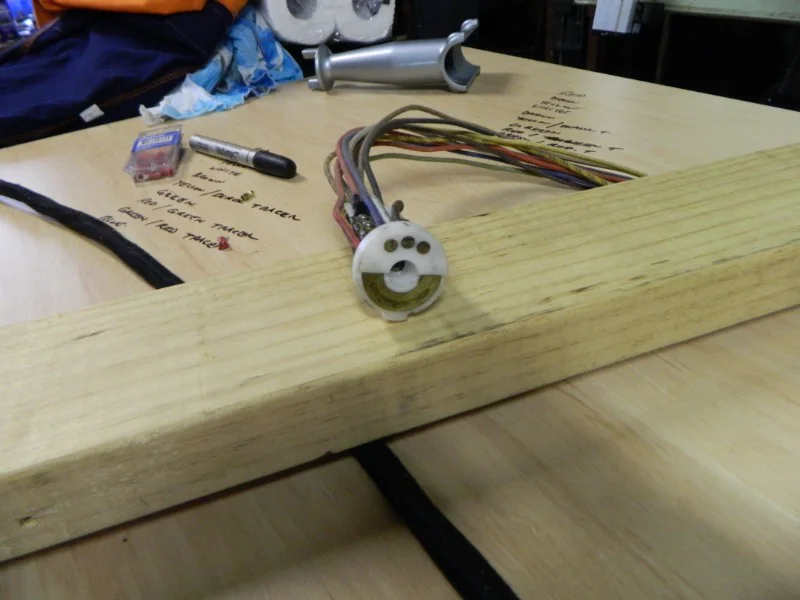
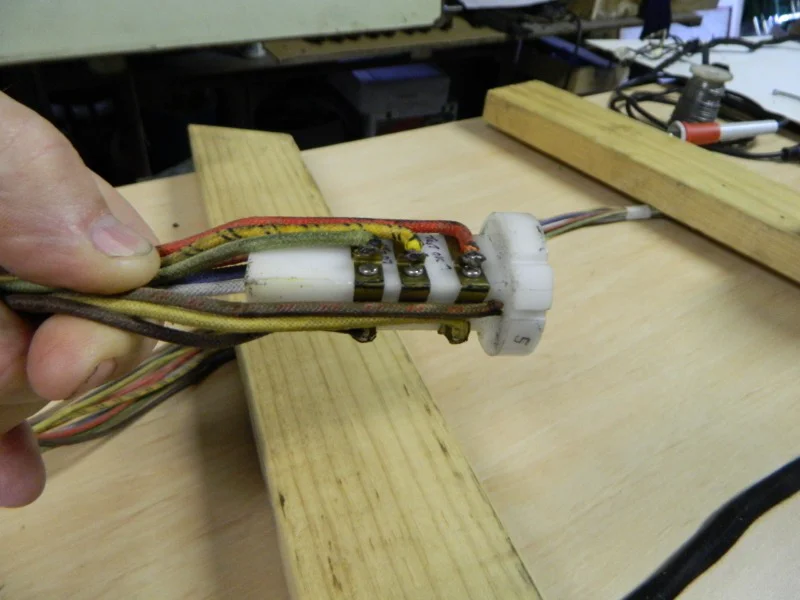
Gary that is interesting as I assumed it was an original switch. I guess that switch is not so old.
I think I will splice the cables lower down. It will be safer that way.
Hi Terry,
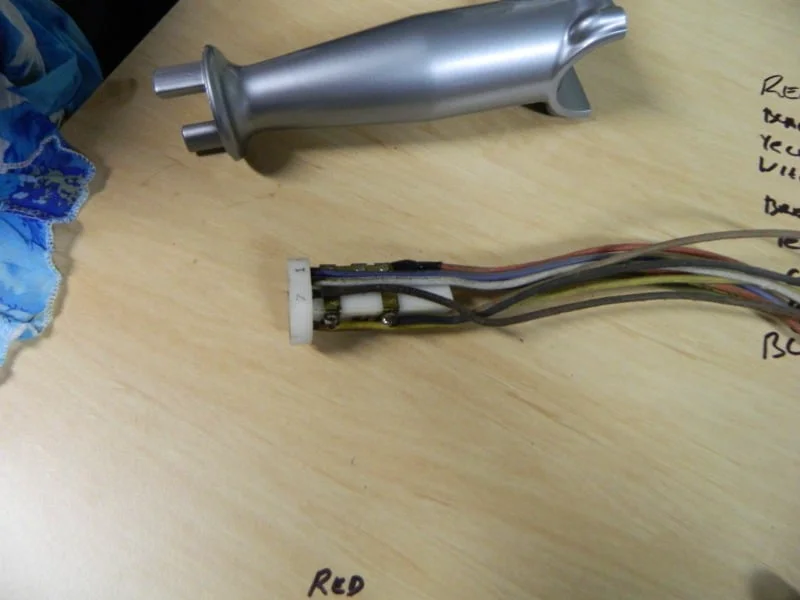
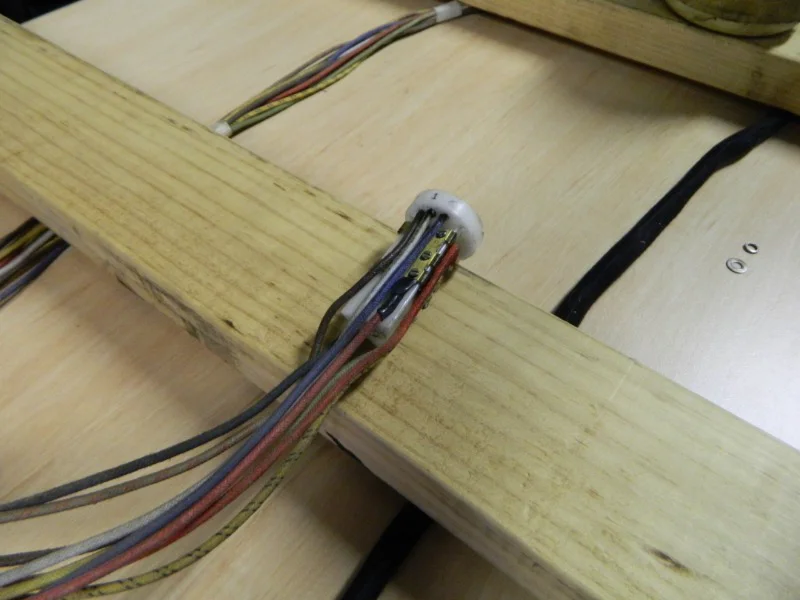
Gary is right, this is a "newer" switch. Your wires look like they are in good condition and appear to be modern plastic insulated wires with the cloth over them. That's a good point for leaving the wires in place. However if your splices are located in the steering column tube you probably won't get all the wires back in there. It's hard enough to get all the wires in there.
 
Soldering in the new wires is not too difficult. With this piece you do have to watch the temperature because you can melt the plastic. It makes the job a lot easier if you lay out the wires in the steering column in the same layout of where they need to go in the switch. That way the wires come straight out of the column and go straight into their proper location on the switch - just like it's shown in your photos.
 
If you have a new one piece harness you have to feed the wires into the column from the bottom and then solder on the switch. This is where you have to feed them into the column in the proper order. If you have the two piece harness you can solder the switch on first, then feed the wires down the steering column and then solder on the connecting plug after the wires are in place.
 
Personally I would solder the wires onto the switch and not put splices in the wires. The splices are just one more potential problem area.
 
Good luck with it!
Jim
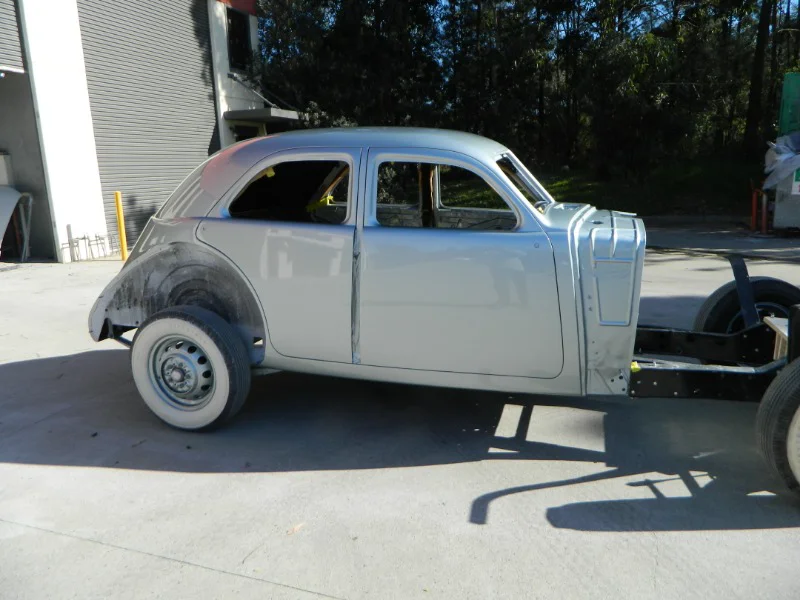
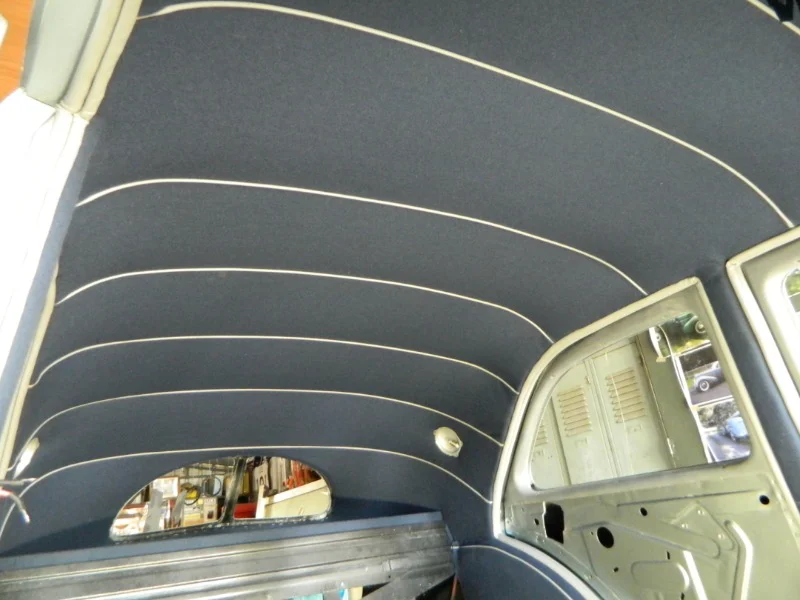
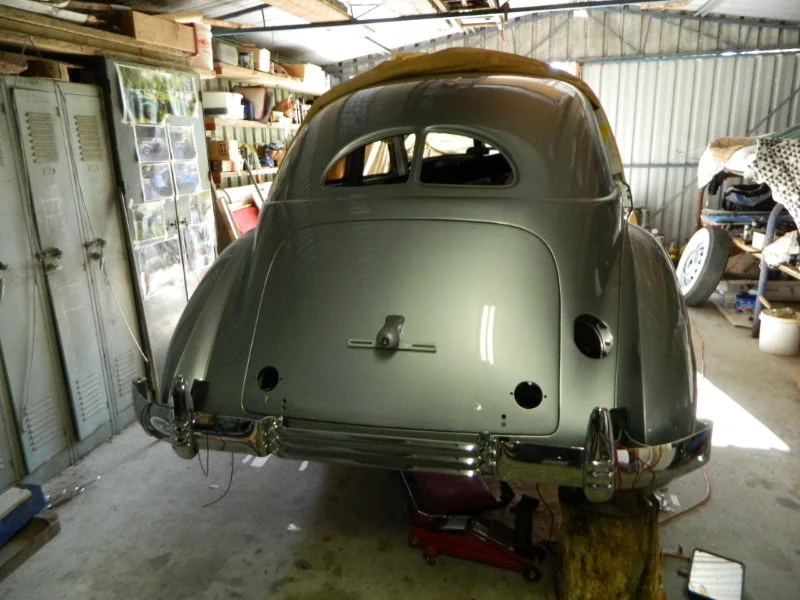
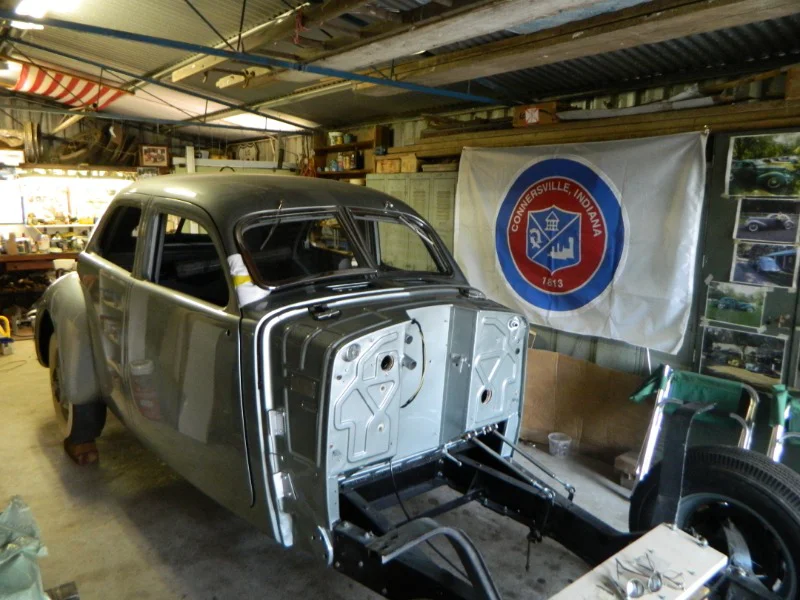
Hi Jim and Gary.Thanks for your supportive comments. It is a hell of a job restoring a Cord from the ground up after you have taken it all apart. As the gear change mechanism worked so well after sorting out the initial bugs I didn't want to get into more trouble with the switch as I still have a long way to go with everything else. The car is coming along nicely. It must have looked like a space ship in 1936 with its original Cadet grey paint shining in the daylight. My loom is in one piece so I will take your advice Jim and feed it up through the steering column outer tube before doing any soldering up.One step at a time.The last picture shows the Connersville City Flag which the Mayor of Connersville gave me during the Mini Meet we had there before Auburn.Cheers,Terry
Terry here are the pics of my original shift selector switch and associated parts.
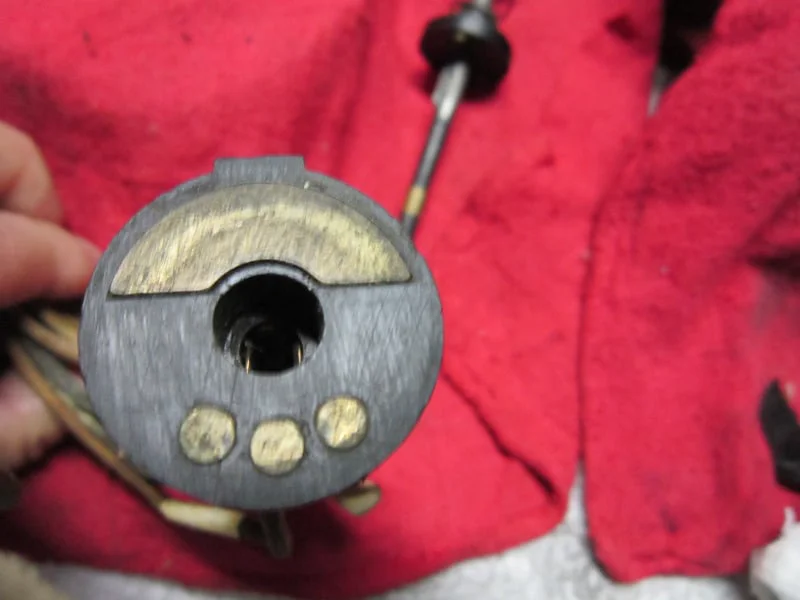
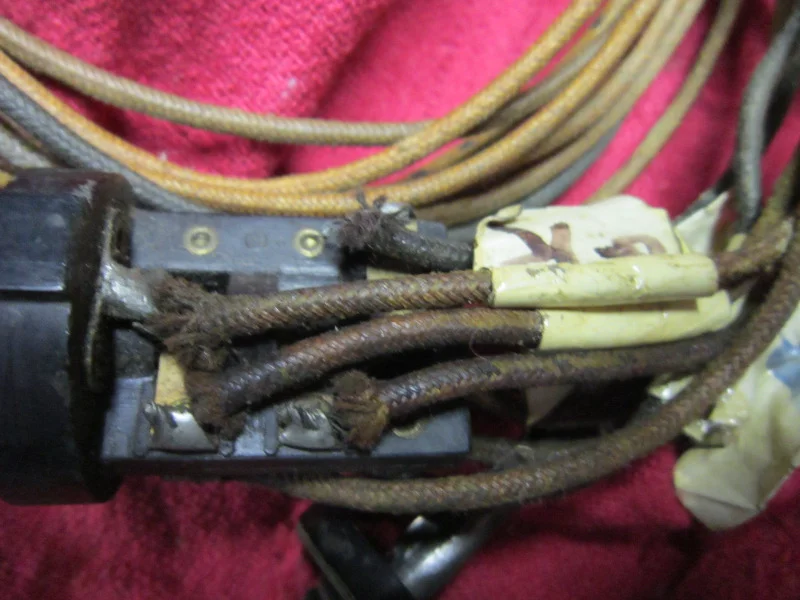
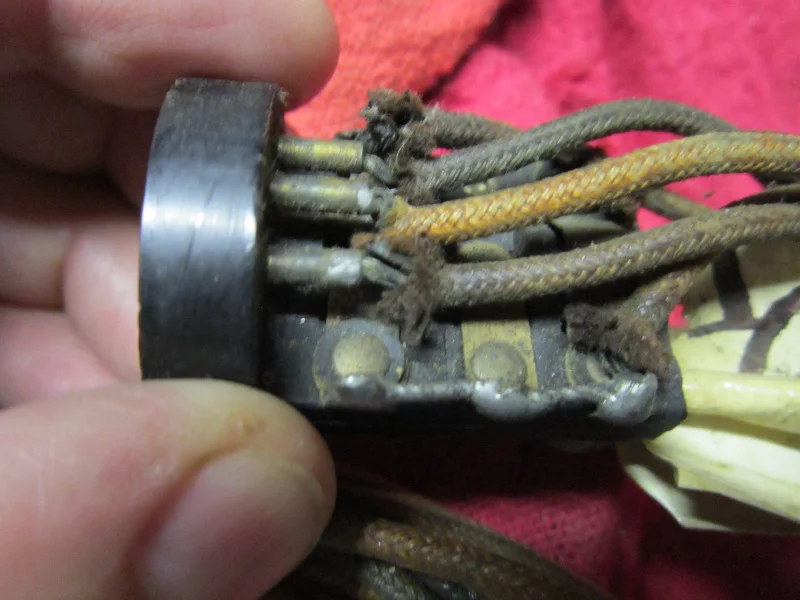
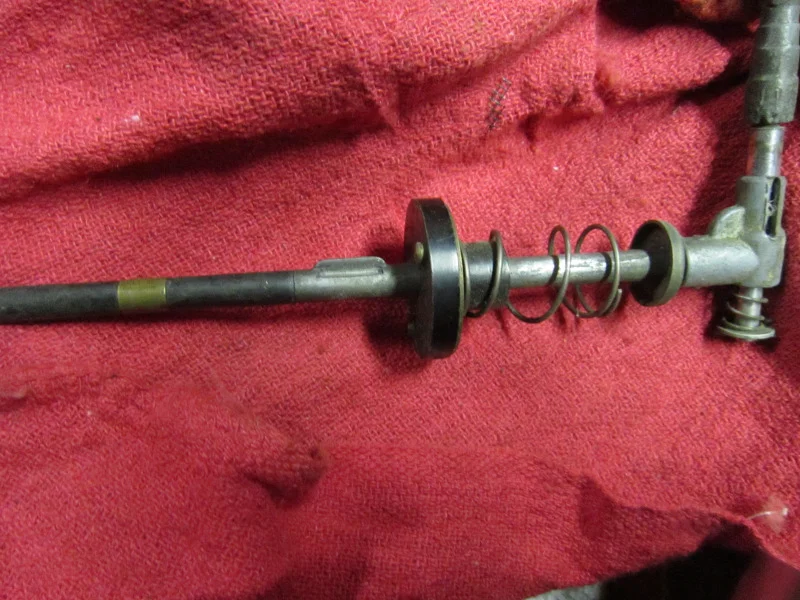
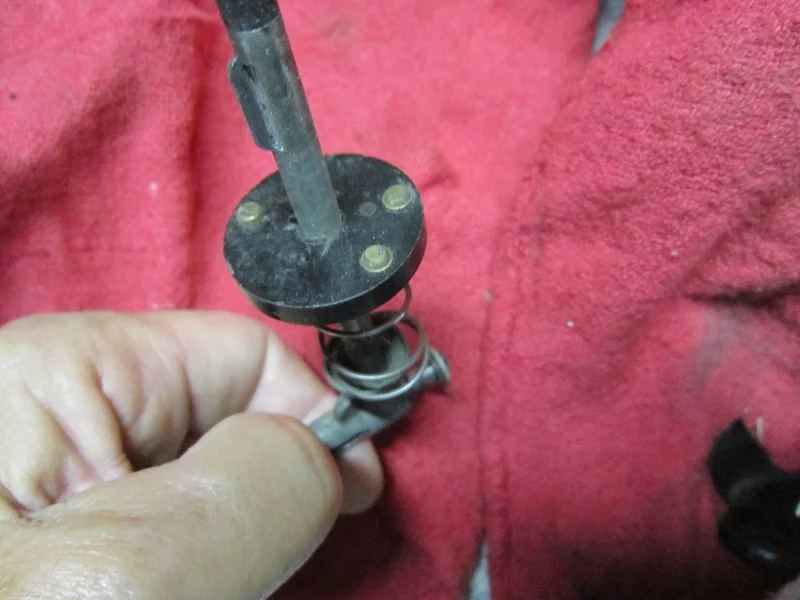
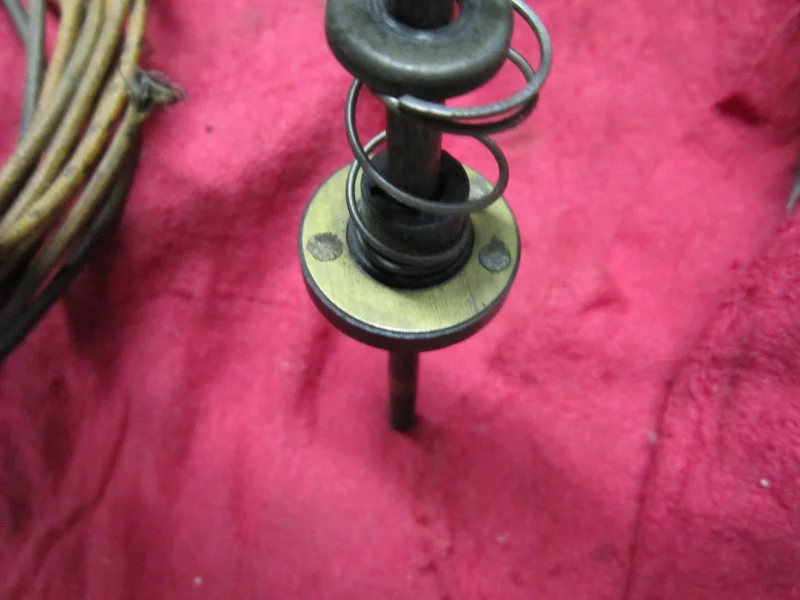
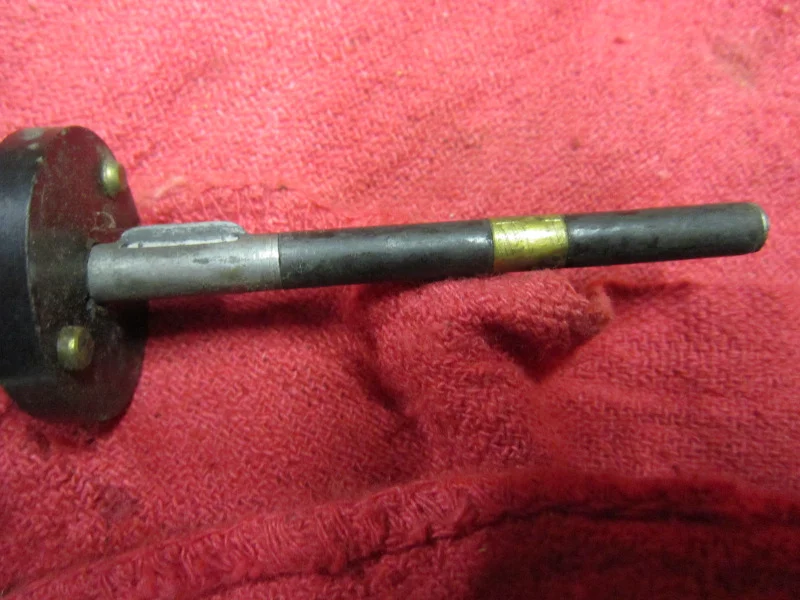
Gary Bakelite would have been the ideal material back then but as you said very fragile.
Are you intending on using this original switch?
If the problem is the interlock switch on the cross shift change it out to a modern micro switches. They are a lot easier to set up. Pat Leahy has them.
Thanks. I saw that and sent him a PM yesterday. I'll buy one regardless. It looks like our car already has a non original replacement of some sort.
I found this in my files today. Its surprising how these selector switches are made. Enjoy.
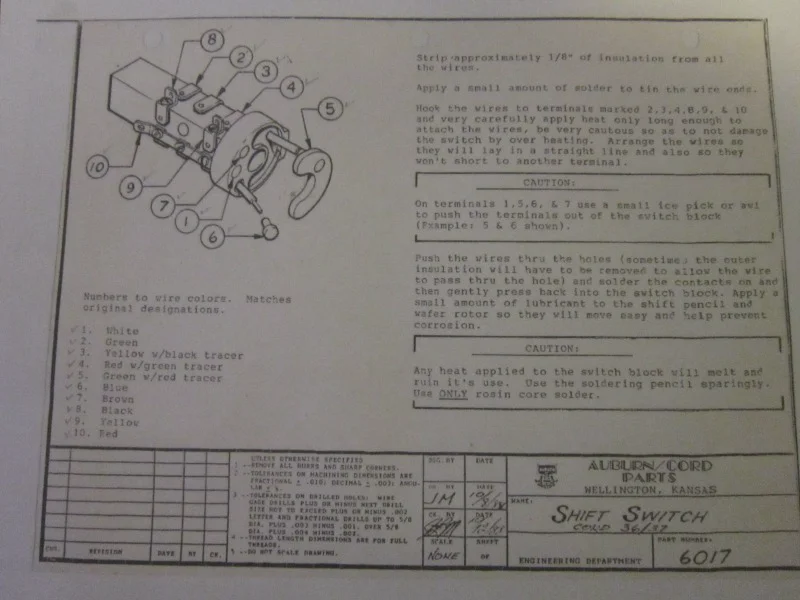
That's a repop not an original.
 
Jim are you telling us this switch is a repop or the diagram is a repop? I had to ask to be clear. I'm not understanding what you are referencing the repop to...I will have to look at my original switch to see if I can determine the differences.
 
 
Gary Parsons
JKH drew up the wire guard that fits into the selector arm behind the switch to keep the wires in order. The originals were thin bakelite and often broke. But they should be easy to make, and keep the wires aligned inside the arm. He didn't specify the diameter. I think I have a broken one somewhere that I can measure if need be. See attached file.
To join in the conversation, you must be a club member.
You’re welcome to read and like every post. Members can reply and start topics of their own.